Get crafty with these creative, wedding-worthy Mason jar design ideas.
By: Lauren Elise DonaldsonCalligraphy Drink Jars
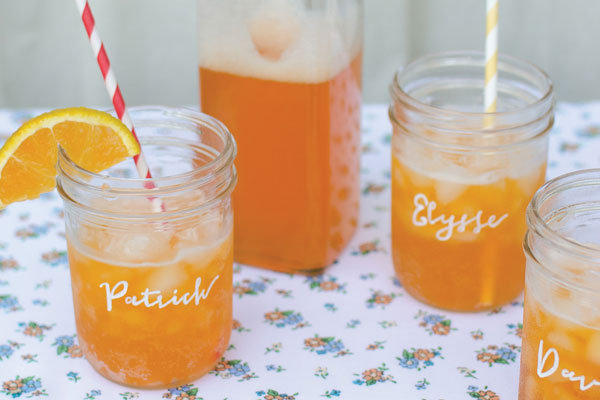
Difficulty Rating: Moderately Easy
Handwritten calligraphy is a personal touch that can make a wedding day extra-special for you and your guests. This distinctive detail is not only romantic but practical too. Labeled Mason jars will help guests identify their drinks throughout the night, and since they can be used repeatedly, it is an eco-friendly alternative to plastic cups. Calligraphy details are very stylish in weddings now, but not all brides can afford a personal calligrapher. This project is the perfect solution for a less expensive, DIY alternative or for the bride who lack confidence in her own freehand writing abilities.
Materials
Inkjet printer
Printer paper
Scissors
Double-sided tape
Pint-size Mason jars
Glass paint marker, white
Cookie sheet
Oven
Striped paper straws
Font Used: Jacques & Gilles by Emily Lime
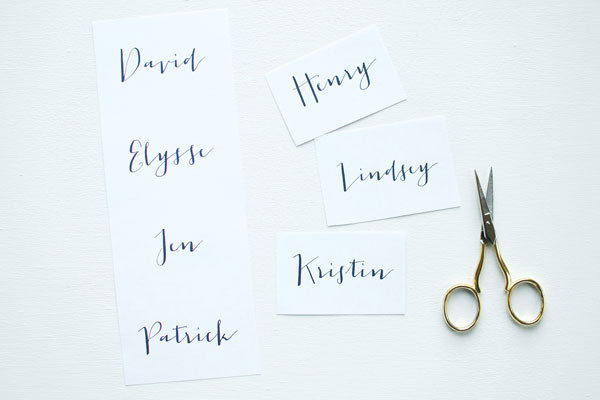
1. Choose a calligraphic font that is both whimsical and legible and load it onto your computer. Graphically lay out guest’s names in the chosen font using some kind of graphic software (like Adobe Photoshop or Illustrator, Microsoft Word, etc.). For pint-size jars, size the font appropriately so that names do not exceed more than 2.5 inches in width. This will ensure that names are easy to read on the curved surface of the Mason jars. Reminder: Steps 1 through 3 give direction in tracing names from an existing font. Skip these steps and write names freehand if you or someone you know is comfortable printing letters without a guide.
2. Print out guest’s names, arranging a handful of names per page. Cut down each of the names individually.
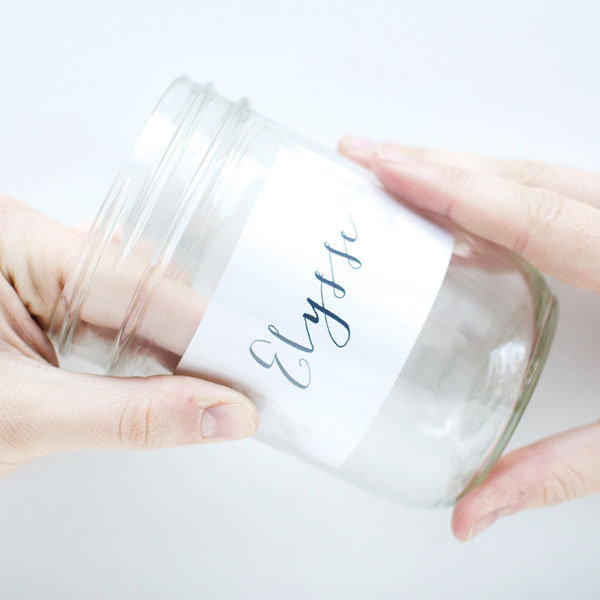
3. Apply double-sided tape to the front of the name tags. Slip one into a Mason jar, position it, and press it down firmly against the glass. The double-sided tape will temporarily hold the name tag in place so that the letters can be traced over.
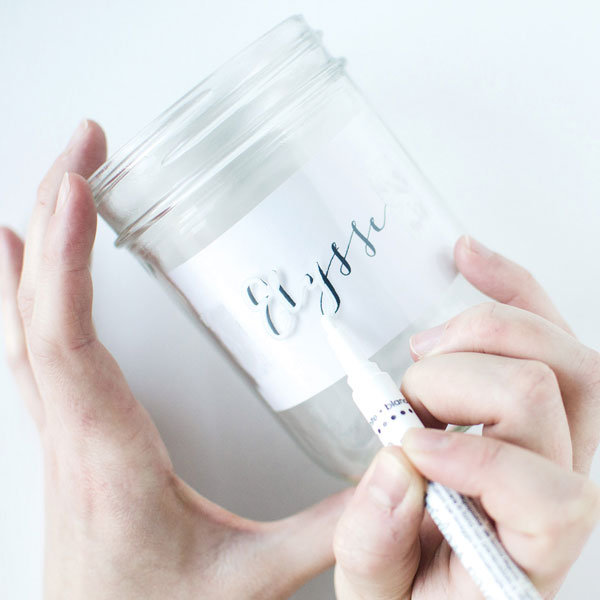
4. Use the glass marker to trace over the name or to write it out freehand. Remove the paper. Allow the jar to fully dry for four hours to guarantee that the paint permanently seals itself to the glass. If using a different marker, follow the directions provided with that specific product.
5. After four hours of dry time, arrange the Mason jars on a cookie sheet and place them in a cold oven. Set the oven to 375°F (180°C). Once the oven is up to temperature, bake the jars for 40 minutes. Turn off the oven, open the door, and allow the jars to cool inside the oven when finished. Repeat Steps 4 and 5 for all of the jars.
6. Adorn drinks with paper straws to coordinate with your wedding or event and to make the jars festive.
Extra Tips
The paint on these Mason jars will need to hold up to excessive handling and condensation because they’re being used as drink glasses. By allowing plenty of dry time and by baking the jars, the paint can seal itself to the glass. This will prevent chipping and smearing and leave your calligraphy looking great throughout the entire event.
Wash these jars by hand to maximize the life of the painted names. After the wedding is over, use them every day for your favorite refreshments.
Adapted from Mason Jar Crafts—DIY Projects for Adorable Gifts, Rustic Decor, Clever Storage, Inventive Lighting and Much More, by Lauren Elise Donaldson (Ulysses Press 2013).

