
Getting a glow perfect for your wedding day—and/or your honeymoon—is way easier than you think. Because you want your skin to stay healthy and beautiful as long as your marriage does, tanning in the sun—or worse, in a tanning booth—is out. But self-tanner is undeniably faster and more reliable in terms of results anyway.
While many people love an in-salon spray tan, the beauty of self-tanning at home is you can take the tanner with you to touch up, deepen, or otherwise adjust while you’re on your honeymoon. Doing it at home is also decidedly more affordable, less time-consuming, and better for your lungs (some of any spray, even an at-home one, ends up in your lungs, but the way many salon spray-tans are administered can involve serious clouds of self-tanner).
But whether you do it at the salon or at home, as with any pre-wedding treatment, self-tanning is definitely worth getting the hang of well in advance. Finding the right product in the perfect shade for your skin (and being able to make sure it looks beautiful against your dress) is important, but how you apply it makes a huge difference in how natural the tan looks.
Start with a great self-tanner.
Mousse is especially easy to blend; the one from Saltyface comes in two shades that look incredibly natural on a wide variety of skin tones, it smells like nothing, and dries quickly yet very rarely streaks.
Try: Saltyface Tanning Foam, $59, saltyface.com
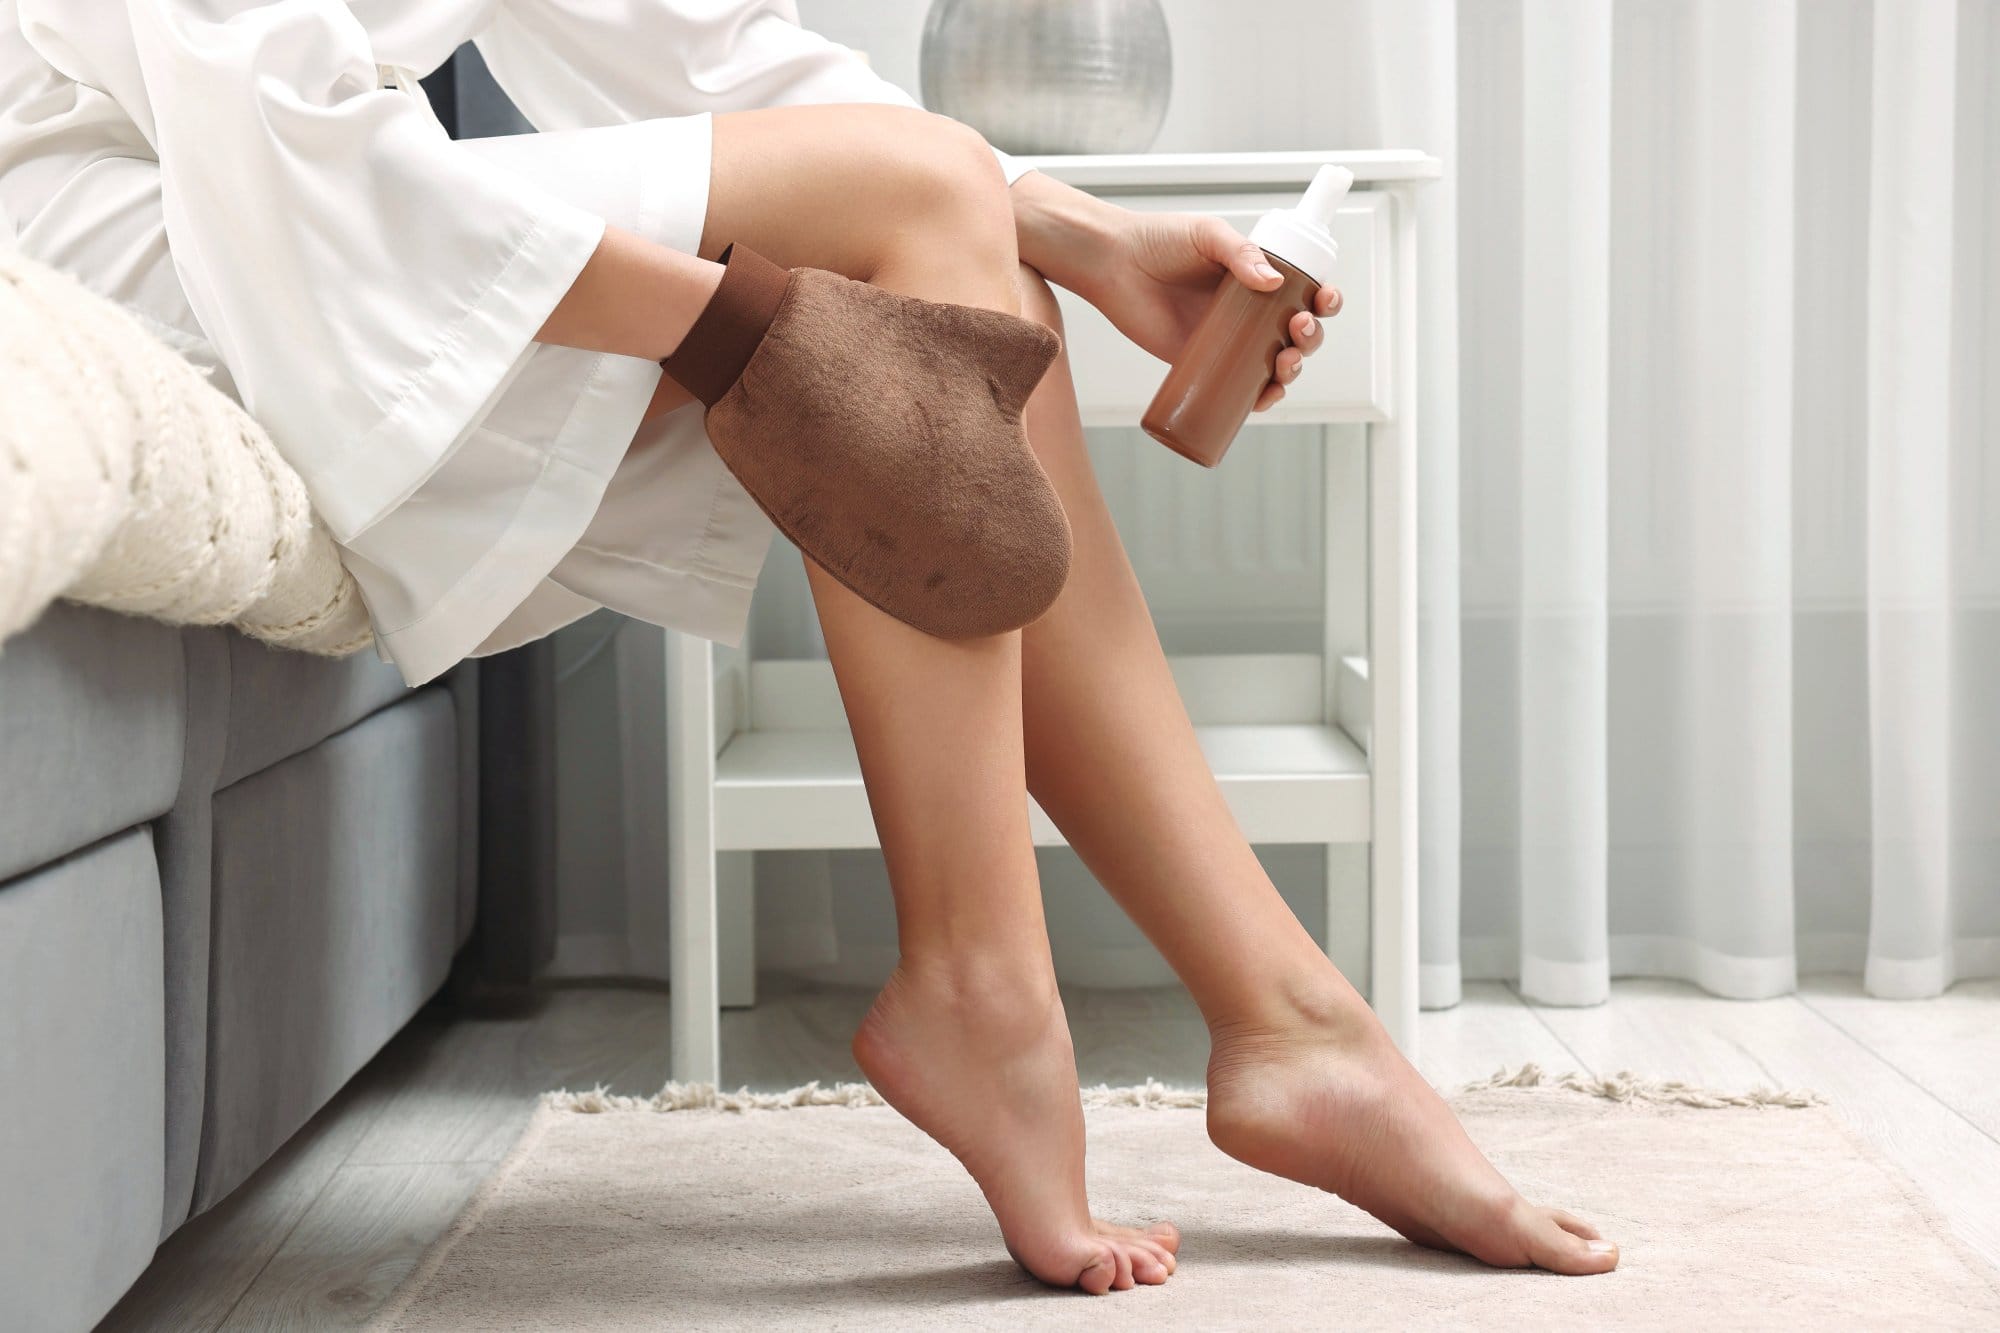
Blending is easiest with a foam mitt.
This keeps the palms of your hands from getting stained with the tanner, and it helps tremendously in evening out the amount of tanner that you’re massaging into your skin. Vita Liberata makes several (along with a great tinted foam tanner in 3 different shades). The brand even makes a dedicated back-application tool made out of the same material as the mitt.
try: Vita Liberata The Mousse $40; tanning mitt, $9; back tanning applicator, $17, vitaliberata.com
Moisturize your skin before…
The essential to an even, streakless, splotchless, glowing tan is not, as the back of many self tanner boxes would have it, exfoliation. Exfoliation is great but not necessary for a great self tan — what you need is moisturizer: lotion, cream, or balm, applied anywhere your skin is thicker or drier, like your elbows, ankles, toes, or even knees. Dry or rough skin absorbs more self-tanner than the surrounding skin, creating dark splotches; moisturizing those areas evens your tan like nothing else. Smooth something like Weleda’s rich body butter between your hands (this also helps sidestep inadvertently tanning your palms), then dab the extra on the dry spots.
Try: Weleda Skin Food, $22.99, weleda.com and Whole Foods, Target, etc
…and after.
If you forget about moisturizing and apply the tanner first, simply go over the drier areas with moisturizer afterwards: the result will be the same. A no-hands moisturizer like the faintly minty Hippie Stick from Jones Road or the tangerine-and-aloe- infused After Sun stone from Kate McLeod make it even easier.
Try: Jones Road Hippie Stick, $36, jonesroadbeauty.com or Kate McLeod After Sun Stone, $38, katemcleod.com
Pay extra attention to these tricky spots.
With the dry spots fully moisturized, you’re ready for self-tanner. Begin with your feet, which are by far the most challenging body part to self tan, in part because your feet are home to fully 25% of your
body’s bones, so there are some odd angles. Then there are multiple zones of thicker (at your ankles and toes) and thinner (by your Achilles tendon) skin; it’s a lot to navigate. So devote a good deal of your blending energy here, along with extra moisture for the dry spots.
Blend, blend, blend.
From your feet, move upwards over your legs. There’s no such thing as overblending for legs: you want no blotches and no streaks. And use a generous amount of tanner — it’s very hard to overdo it on legs.

Focus on the visible spots.
You can tan all over, but you don’t have to. There’s no need to do your whole body unless you’d like to. Consider who might be seeing you naked if you’re only going halfway, however.
Wash your hands thoroughly.
Once you’re finished, really wash your hands, even if you used a mitt.
Try: Pacha Bar Soap, $6.99, pachasoap.com and Whole Foods
Tan your hands.
After your hands are dry, dab a little tanner on the back of one hand, then rub the backs of your hands together, blending. Remember that feet and hands are the hardest to blend seamlessly, so take extra time, don’t use much tanner, and dot moisturizer anywhere your skin is drier or thicker — like your knuckles.
Get dressed, but avoid showering right away.
Most self-tanner dries pretty quickly, so don’t feel you need to wait to put clothes on. But don’t shower until 6-8 hours have passed, which is the time self-tanner takes to fully develop. Throw on loose darker-colored clothes and go about your day.
Tanner will be fully set after your shower.
While many formulas are designed to be no-transfer (Saltyface is especially great in this regard), know that the tanner will really be fully no-transfer once you do shower, after the 6-8 hours. Of course, because our skin is shedding all the time and because with self-tanner you’ve essentially dyed your skin, you may get what looks like transfer around a collar or a cuff here or there, but it will wash away easily.
Fix any splotches or streaks.
If you do notice splotches or streaks after the tanner’s developed, they’re generally pretty easy to fix. Massage a wet washcloth into too-dark spots; you can also use any sort of exfoliant — chemical or physical or both — to lift off some of the darkened skin. Mutha makes a gorgeous exfoliating soap bar that’s perfect for this purpose.
Use a mitt for touch-ups.
For spots you missed entirely, go back and dab on additional tanner with the mitt, only in the spots that are too pale, remembering that these spots will now need 6-8 hours to develop.
Explore more:


