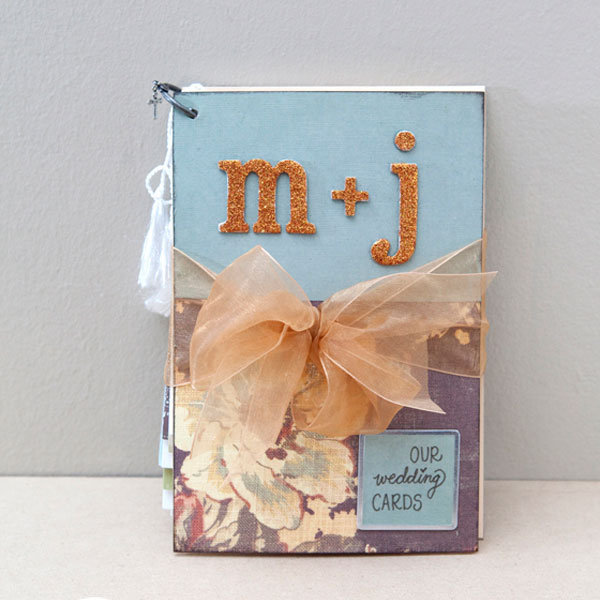
Afraid that your wedding cards will end up being shoved away in a desk drawer, never to be seen again? Us too. That's why we can't wait to create this beautiful keepsake album to give our endless stack of cards a home and banish desk clutter for good.
Our blogger friend Jen at Somethingturquoise.com (remember her handy seating chart?) came up with this craft, and we knew BG readers would be up to the challenge. Although the long instructions may look daunting, we promise the end result is worth it.
Supplies You'll Need:
- Two pieces of cardboard
- Three pieces of patterned paper that all complement each other
- Ink pad
- Glue dots
- 30″ of ribbon
- Two large brads
- Large ring
Step 1: Prep the Front and Back Covers
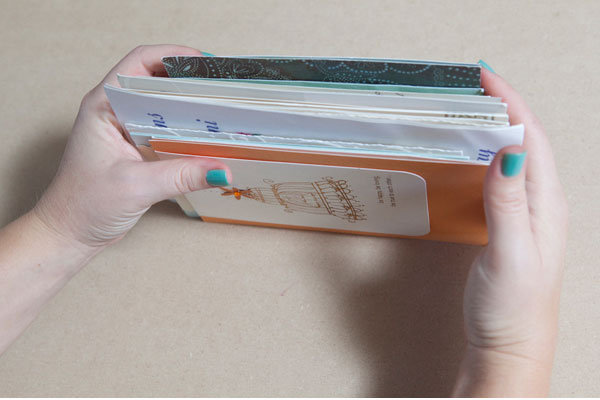
You'll need two pieces of cardboard to make the mini-album. The size of your album will depend on the largest card in your stack. Start by gathering up your wedding cards (we know, that might take awhile) and shuffle them together to find your largest card in the bunch.
Measure about a quarter of an inch past each side of your largest card.
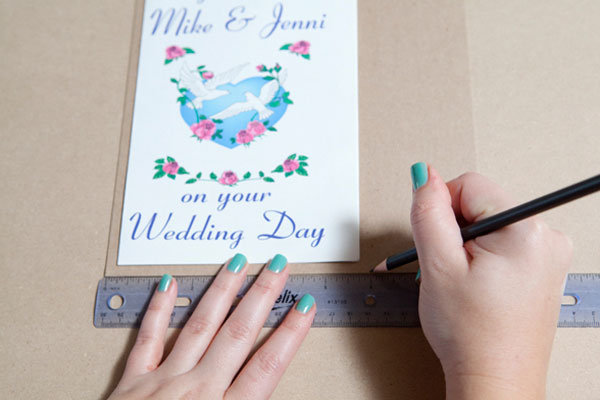
Trace your measurement and cut two pieces – one for the front and and one for the back.
- (Optional: If your cardboard edges are a little rough after you cut them, use a nail buffer to sand down the edges and smooth them out.)
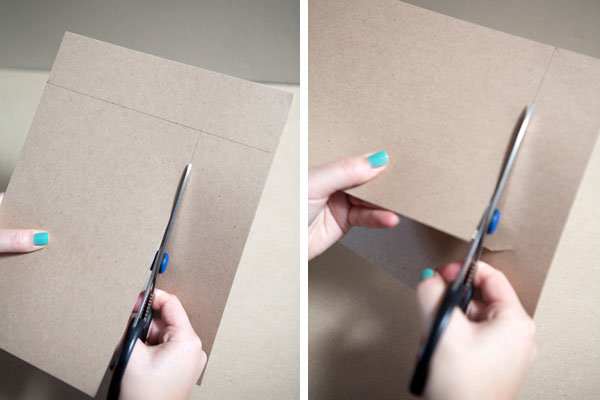
Step 2: Design Your Front and Back Covers
Choose something meaningful to put on the cover. A wedding picture, the date, your initials…
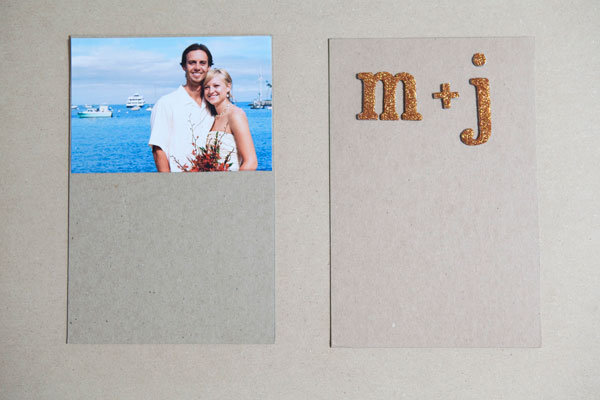
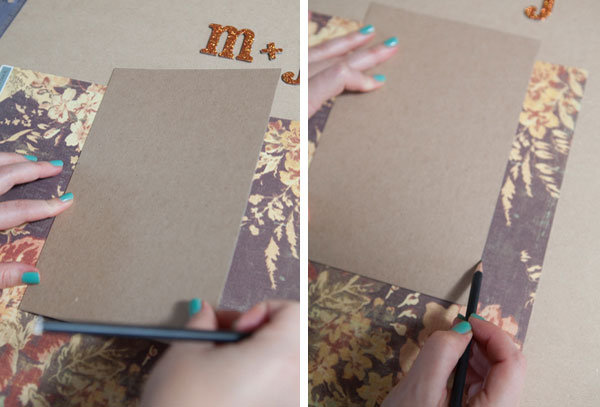
Then you'll need three pieces of patterned paper that all complement each other. Based on the design you choose for the front of your album, measure and cut your desired papers.
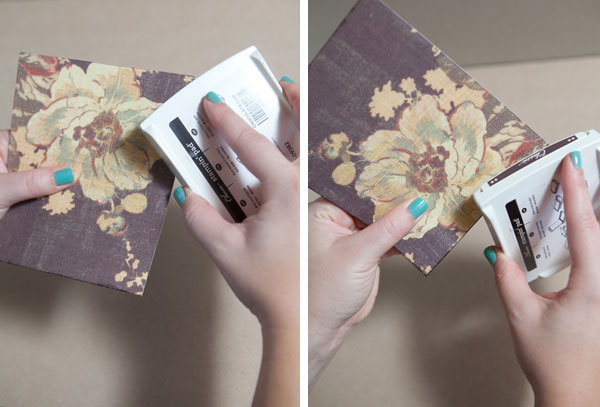
- (Optional: Ink the edges of your paper to add dimension. Simply dab/swipe your ink pad across the edges of the paper.)
Next, work on your second piece of patterned paper. If you are following this design, choose a plain paper – one that doesn’t overpower your chipboard initials. Then for the backside of your album, trace the back panel and cut your choice of paper to cover it.
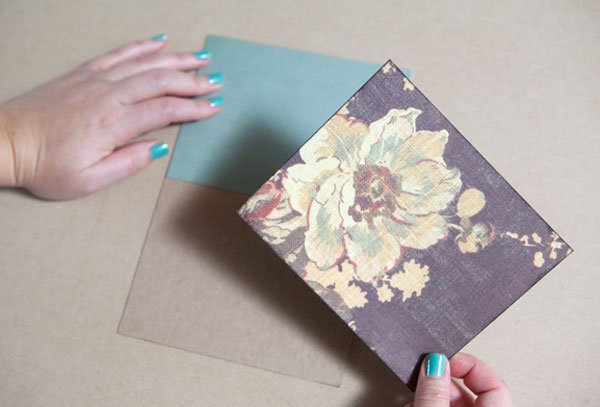
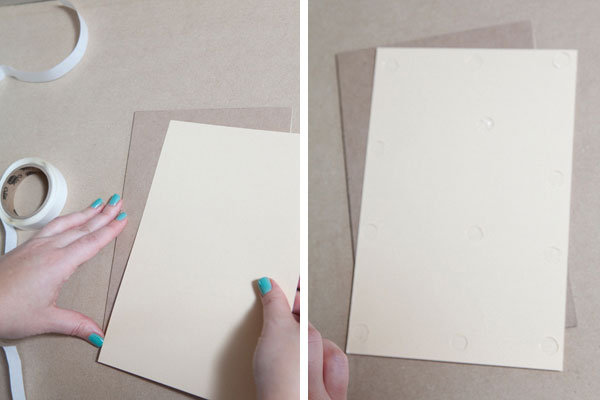
To attach your cover patterned paper to your cardboard, try using Glue Dots. Press your paper firmly to the glue dot roll and peel off. The glue dot will come away from the roll and be stuck to the backside of your paper.
Do this all along the edge of the paper – leaving an inch or two in between each dot. Then apply to your cardboard base. Use the same technique for the front.
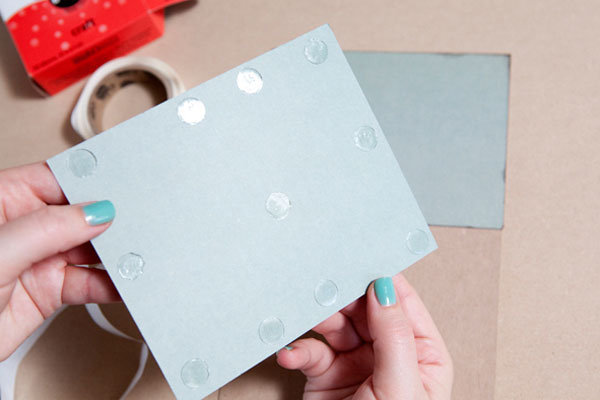
And voila, the front and the back are done! (How sweet is the bride and groom stamp that Jen put on the back?)
Step 3: Create the Wraparound Bow
This part can be tricky, but it's important to get it right. The ribbon will hold your entire album together.
You will need about 30″ of your desired ribbon. You want the bow to tie directly over the line of your two patterned papers on the front of your album. Put a mark about one inch in from each side – this is where you will attach the ribbon.
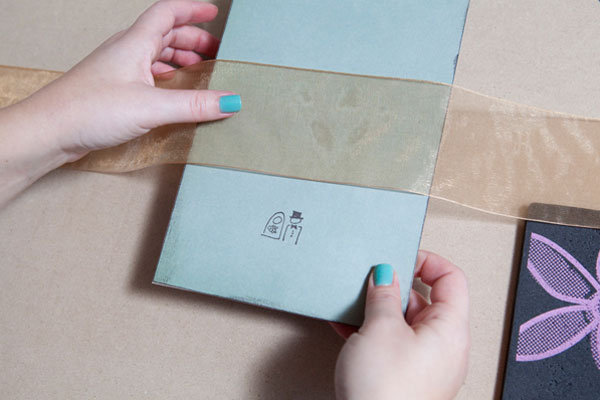
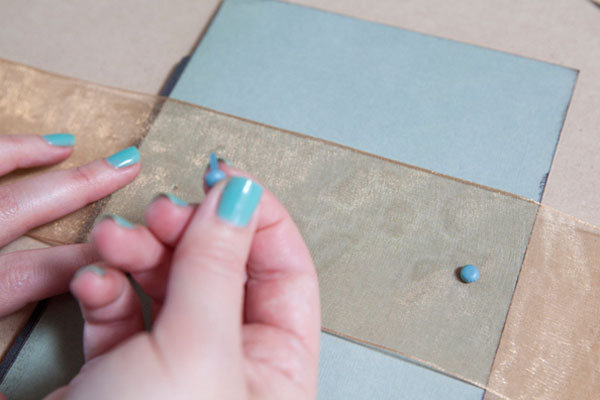
Placing the ribbon over your marks, stab through the ribbon with scissors or an Exacto knife to create a hole for your brads (a small nail with a barrel-shaped head).
It is best to do this on a spongy surface like a foam board or a couch pillow that you don’t care about. Make sure the holes go all the way through the ribbon and cardboard.
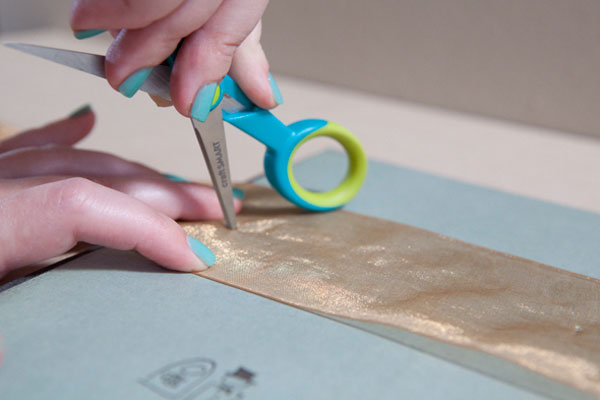
Once your holes are ready, put two large brads through the ribbon and cardboard and secure them on the backside. Now your ribbon is completely attached.
Step 4: Prepare the Interior Album Covers
Next, cover the inside of your album covers. Trace your cardboard and cut out your choice of paper, attach with glue dots.
IMPORTANT: You must do this step after the ribbon is attached, so that the paper covers the brads that poke through the backside of your album.
Step 5: Add Embellishments
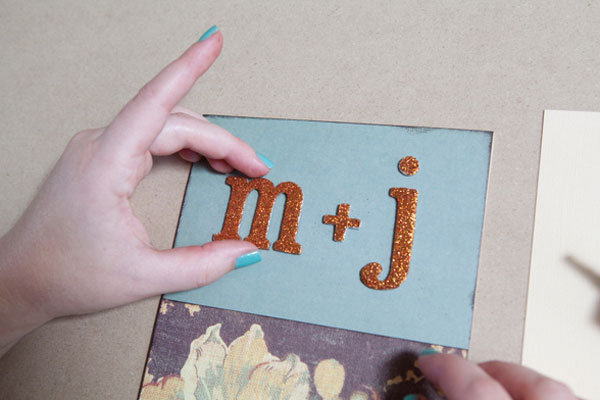
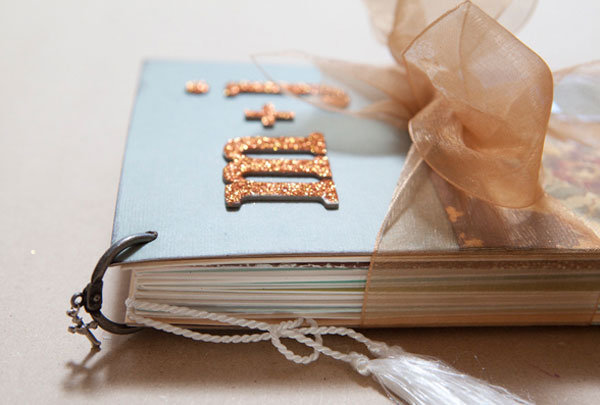
Add alphabet initials, stamps, or any other details to jazz up your cover.
Step 6: Affix the Album Ring to Tie it All Together
Draw a little dot where you want to punch your hole, about half an inch in from each side. Place your album covers together, insert into your trusty Crop-a-dile hole punch and chomp away. Crop-a-dile’s cut through cardboard like butter—this tool is a must for this project.
Next, stack your cards together and in sets of four to five, punch the same type holes. Now you will need a large spiral ring, which you can purchase at a scrapbooking store. Open it up, insert your album cover, then all of your cards, and then finally your back cover!

Tie the bow and you've got a gorgeous memento filled with notes from all the people you love most.
Check out more of our editors' favorite wedding DIY ideas!
—Stephanie Brooks
- ssainato's blog
- Log in or register to post comments

