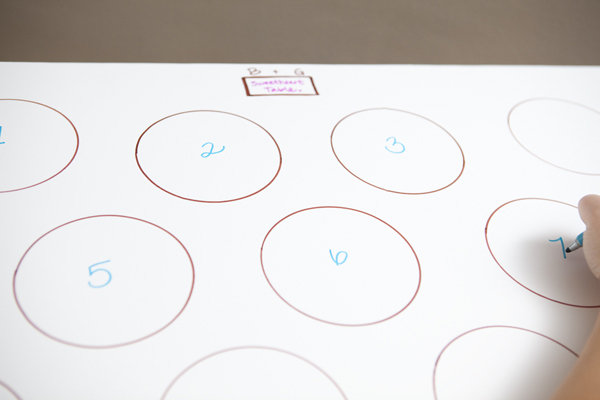
Although we're suckers for gorgeous décor projects, sometimes the best wedding DIY tasks are the ones that simply make your life a little easier, behind the scenes.
We found this simple (yet genius) DIY seating chart by Jen from SomethingTurquoise.com and couldn't wait to share it with our crafty BG brides! Creating a seating chart can be a daunting task, but with a little patience (and a whole lot of Post-Its), you'll be able to check this off your to-do list in no time.
Materials Needed:
- Your guest list
- Your reception table layout
- A poster board (or two, depending on how large your wedding is)
- Re-positionable page markers from Post-It
- Markers
Instructions:

1. Start by drawing out your table arrangement for your reception, using multiple poster boards if needed.

2. Jen used a bowl to trace her round tables, but if you have rectangular tables, then try using the bottom of a cereal box instead.

3. Label all of your tables by number. If you're naming them after significant travel spots or other landmarks from your relationship, you can worry about that later!

4. Next, start writing each guest's name onto a page marker and placing that guest at their designated table.
The beauty of using Post-It page markers is that you can change your guests' placement as many times as you need...minus erasing and crossing out. Write the names out once and easily find a spot for everyone!
5. Use the different Post-It colors to help categorize your guests (your family, his family, friends and work colleagues).
6. Before you know it, all the Post-Its will be gone, and your seating chart will finally be complete.
Check out more of our editors' favorite wedding DIY ideas!
—Stephanie Brooks
- ssainato's blog
- Log in or register to post comments


